Install Ubuntu Server Operation System (64bit)
• Download installation image Ubuntu-server 12.04 from Ubuntu Web Site.
• Perform installation as per below steps.
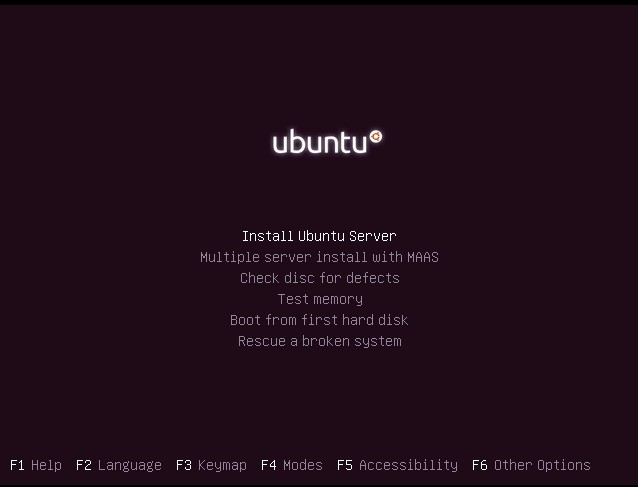
1. Select “Install Ubuntu Server” to start installation
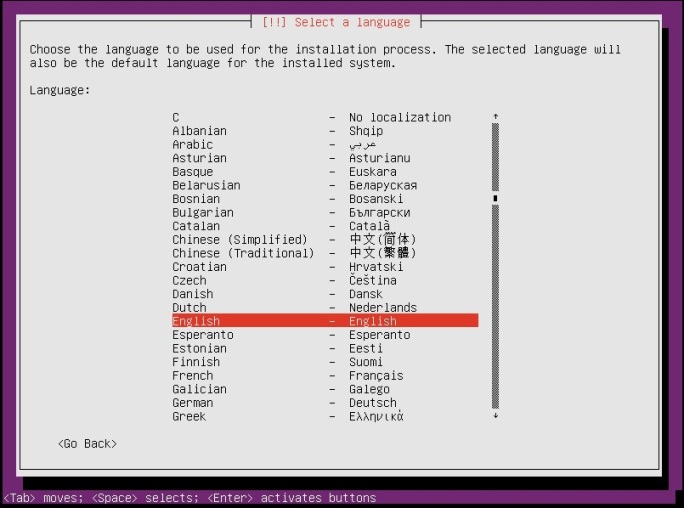
2. Select language, e.g. English
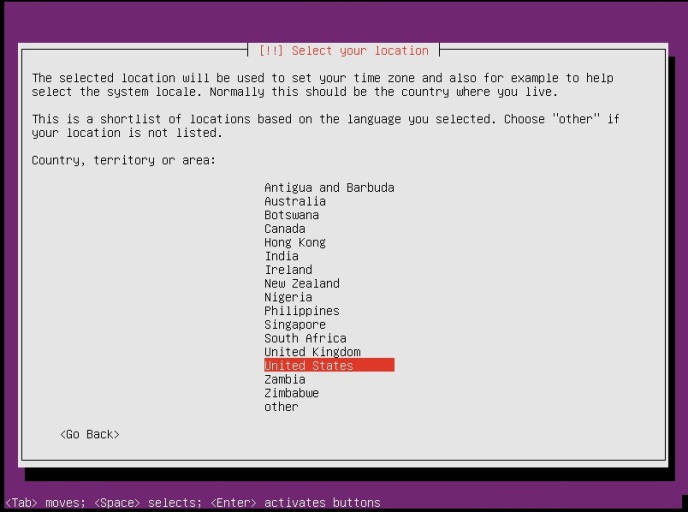
3.Select location, e.g. United States
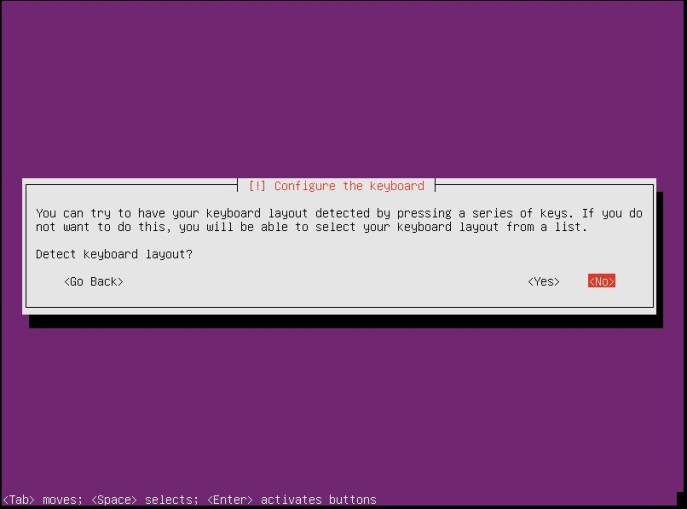
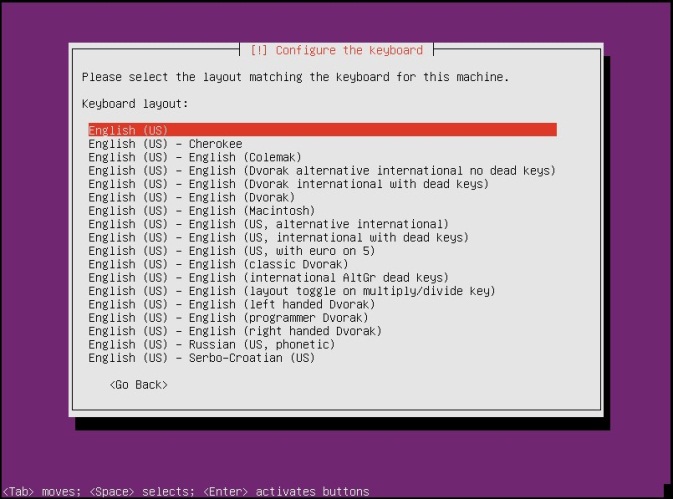
4.Configure the keyboard, press <NO> to skip keyboard layout detecting and select keyboard layout from a list
5.Select a country for the keyboard, e.g. English (US)

6. Select the matched keyboard layout for this machine, e.g. English (US)
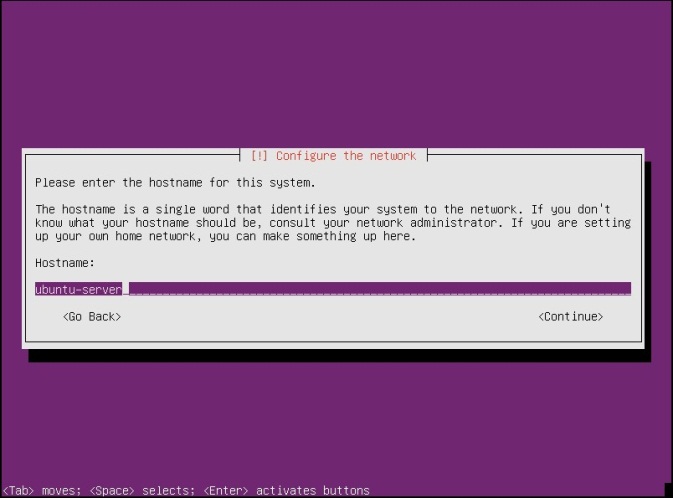
7.Then configure the network, enter the hostname for this system.
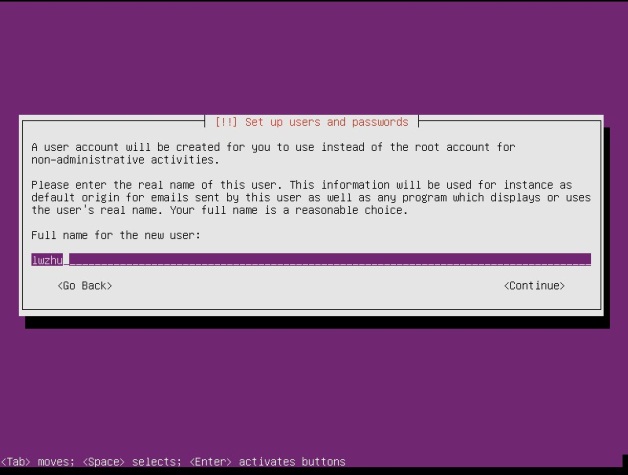
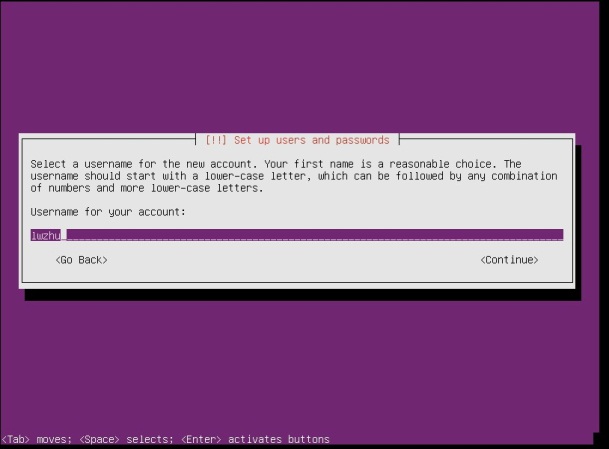
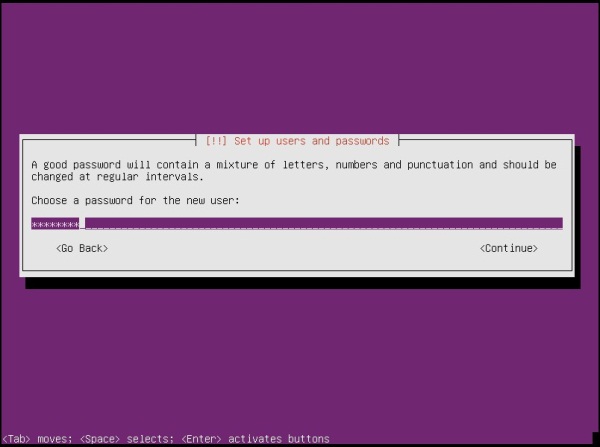
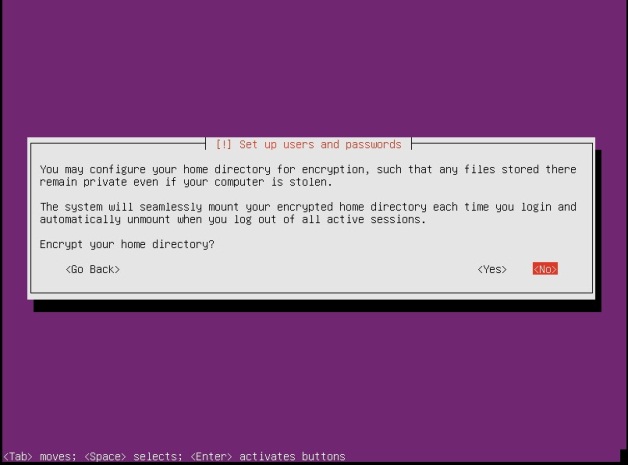
8.Create a new user account, enter full name of this new user and his/her username and password.
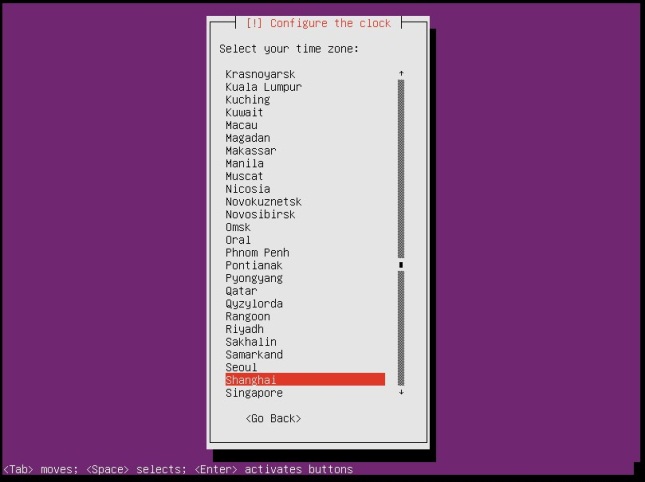
9.Select time zone, e.g. Shanghai
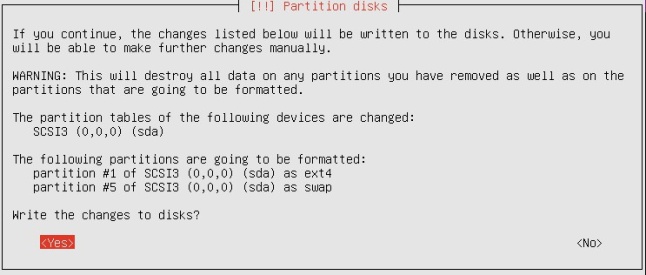
10.Partition disks, select “Guided – use entire disk”

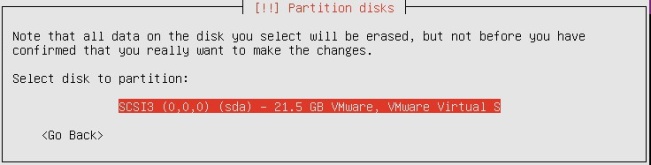
11.Press <Yes> to complete current partitioning.
12.Start installing the base system.

13.HTTP proxy setup.
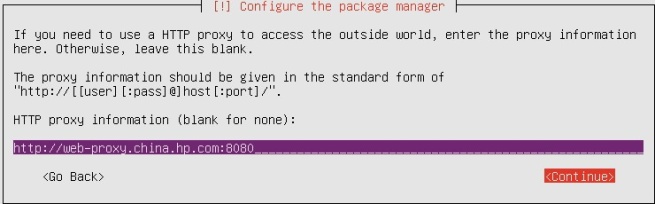
14.Then start configuring apt and preparing software installation.


15.Set up how to manage upgrades on this system, e.g. No automatic updates

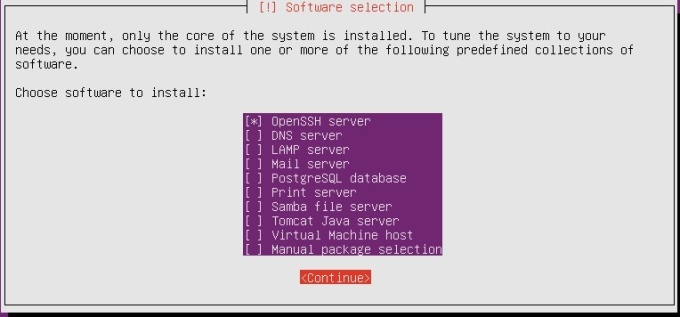
16.Choose software to install, please note the OpenSSH server is required to be installed.
17.Start software installation.

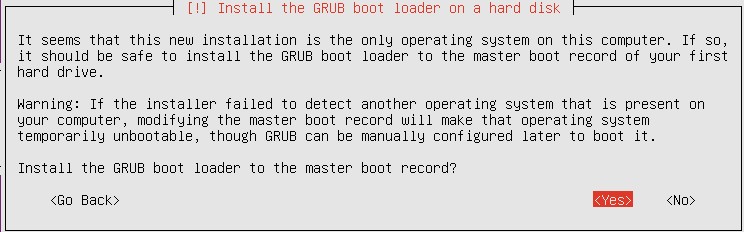
18.Press <Yes> to install the GRUB boot loader to the master boot record.
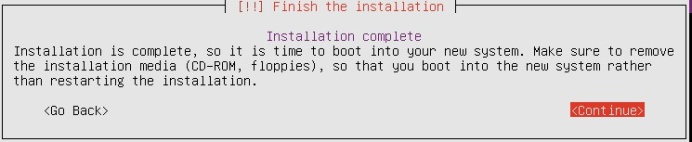
19.Press <Continue> to exit installation and boot into the new system
20.You are now boot into the Ubuntu system.
- Set up Internet Access
Set up IP address
There are two ways to gain IP address, either dynamically allocated or manually specified.
a) DHCP setting (IP address dynamically allocated)
The network configuration file is located at /etc/network/interfaces.

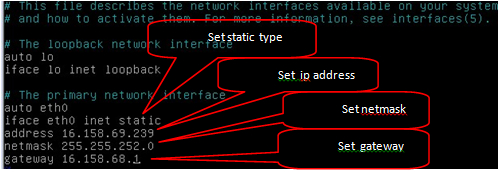
b) Specify a static IP address by modifying the network configuration, e.g. # sudo vi /etc/network/interfaces
• Restart network
a) Disable network connections by the command “ifconfig eth0 down” b) Enable network connections by the command “ifconfig eth0 up”
• Set up DNS
Add nameserver to the DNS configuration file /etc/resolvconf/resolv.conf.d/base.
sudo vi /etc/resolvconf/resolv.conf.d/base

Install Oracle JDK (64bit)
• Download installation package jdk-6u31-linux-x64.bin from the Oracle Web Site.
• Make this package executable by the command “chmod 744 jdk-6u31-linux-x64.bin”
• Run jdk-6u31-linux-x64.bin to complete JDK installation, e.g. # sudo ./ jdk-6u31-linux-x64.bin
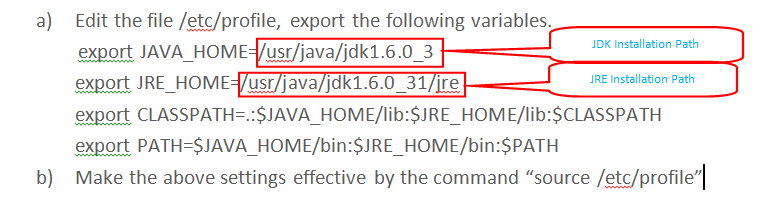
• Configure JDK Environment variables
Note: the recommended JDK version is 1.6.0_31, and the minimum supported version is 1.6.0_8
Install Cloudera Manager Installer
• Download the installer cloudera-manager-installer.bin from the Cloudera Downloads page.
• Make the software executable by the command “chmod 744 cloudera-manager-installer.bin”
• Perform installation as per below steps.
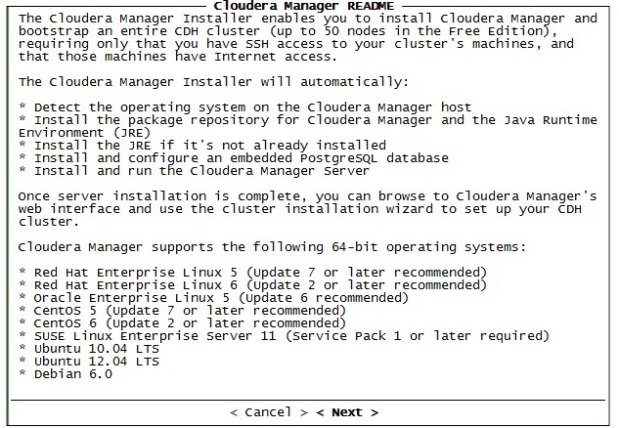
a) Run cloudera-manager-installer.bin to start installation, select <next> to next step.
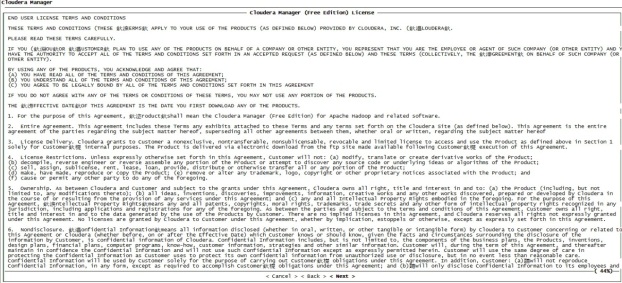
b) Select <Yes> to accept the license and then start installing.
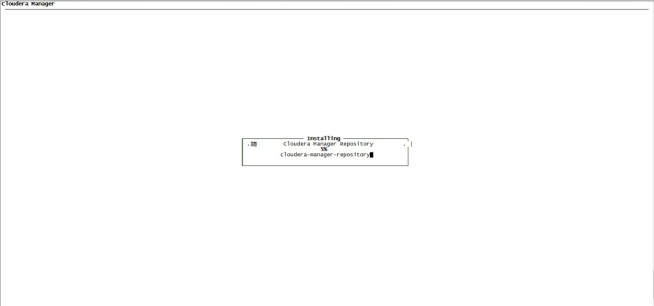
The installation of Cloudera Manager Installer is in progress

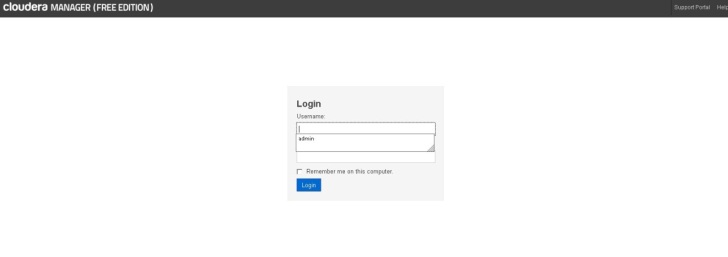
c) After the installation is completed, you can access to Cloudera Manager Admin Console, the default port number of admin console is 7180.
 Install Cloudera Manager and Set up CDH Cluster
• Perform below steps to complete the installation and configuration.
a) Login to Cloudera Manager admin console, the default user name and password are admin.
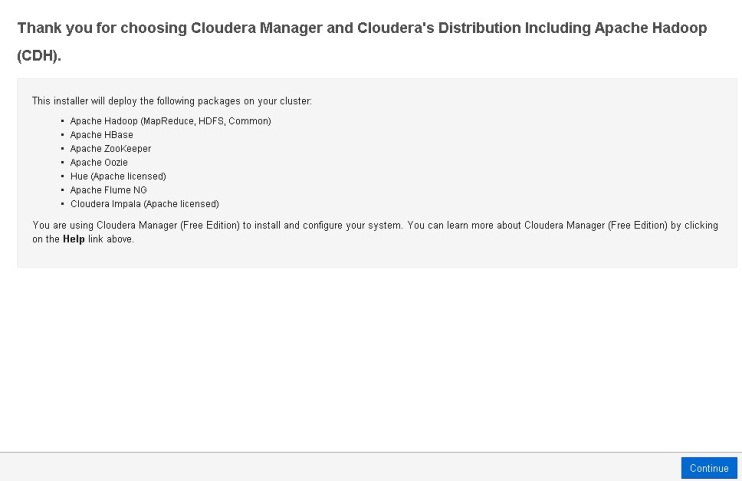
b) Click the “just install the latest Free Edition” button to install Cloudera Manager Free Edition.

c) Click the “Continue” button.
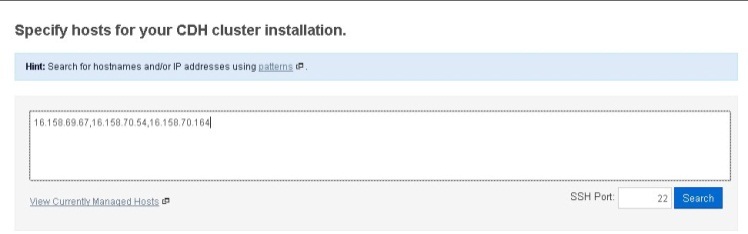
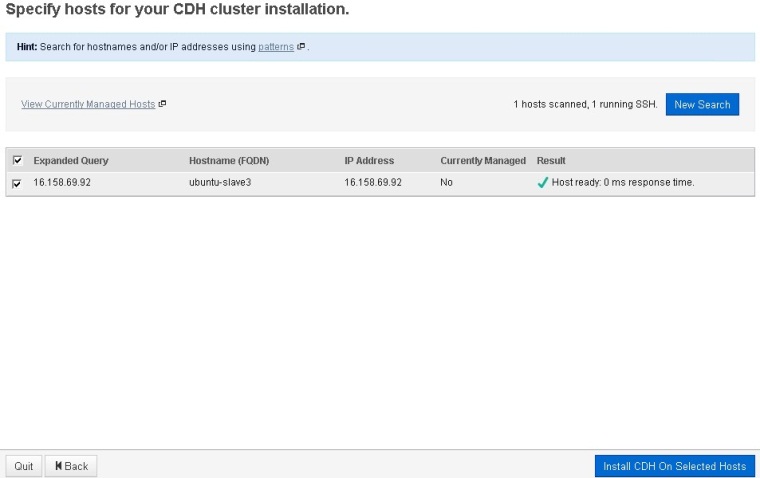
d) Input the IP addresses and separated by comma, Click the “Search” button to find out the specified hosts for the CDH cluster installation.
e) Then install the CDH on selected hosts.
f) Select the version of CDH, e.g. CDH4, then go to next step.

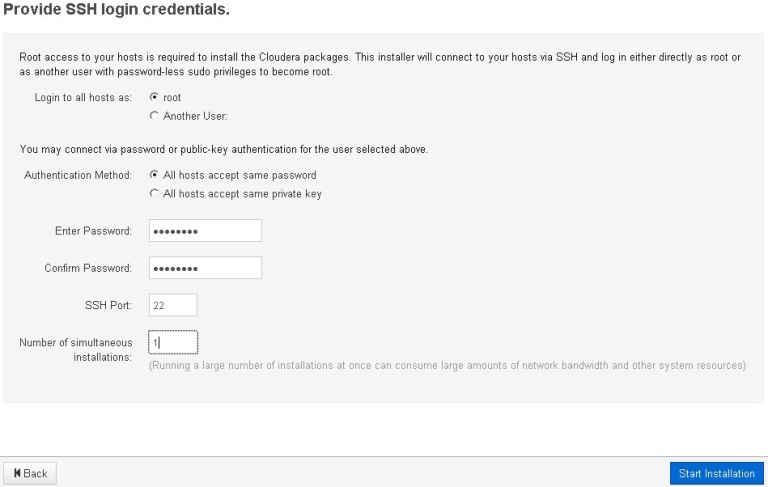
g) Provide SSH login credentials and start installation.
The installation is in progress.

Note: If the installation is failed on some of the hosts, click the “Retry” to re-install CDH on a selected failed host, or click the “Retry Failed Hosts” to re-install CDH on all failed hosts.
h) Installation completed successfully, click the “Continue” button to complete the rest of steps.

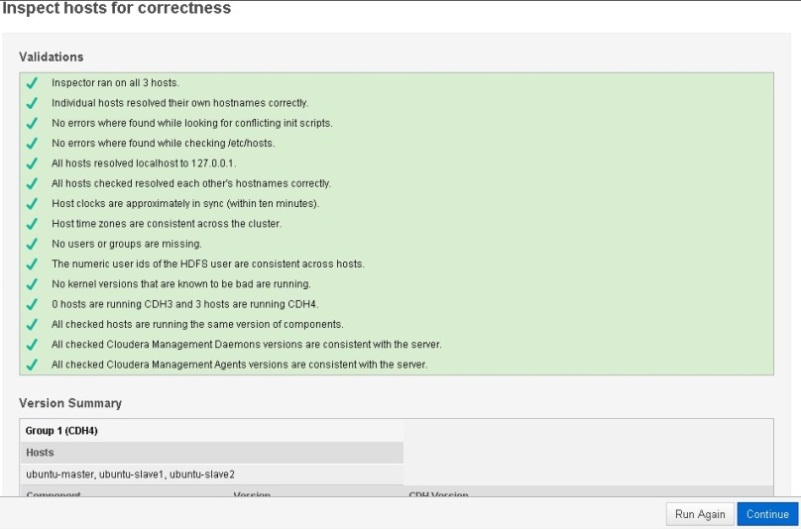


the installation is now done.